> For the complete documentation index, see [llms.txt](https://helpwith.salesorder.com/llms.txt). Markdown versions of documentation pages are available by appending `.md` to page URLs; this page is available as [Markdown](https://helpwith.salesorder.com/setup/configuration/email-accounts/oauth-for-outlook-365.md).
# OAuth for Outlook 365 ⛭
### Outlook 365 and OAuth, what you need to know
{% hint style="warning" %}
Read through this entire article before proceeding with any changes to your email settings.
{% endhint %}
Read through this entire process before proceeding
* Microsoft now mandates\* using OAuth 2.0 authentication.
* OAuth 2.0 for Outlook is implemented in Salesorder.
\*Microsoft removed the ability to use Basic authentication in Exchange Online for Exchange ActiveSync (EAS), POP, IMAP, Remote PowerShell, Exchange Web Services (EWS), Offline Address Book (OAB), Autodiscover, Outlook for Windows, and Outlook for Mac.
### Existing 'Mail Account' Configurations
If you have existing 'Generic email accounts' in Salesorder, you'll need to delete them before you configure OAuth.
Go to Setup>Configuration>Email>Mail Accounts and delete the 'Generic Mail Accounts'
{% hint style="warning" %}
**To ensure continuity:**
Make a list of the accounts you are going to change/retain.
Note the user's email address details.
{% endhint %}
#### Want us to implement the changes for you?
If you don't feel comfortable doing these changes yourself, please let us know at and we'll get it done for you.
### Configure 365 Exchange Admin
You need to configure the Microsoft Exchange 'organization' settings for sending and receiving emails. We're specifically referring to the 'Mailflow' settings.
Go to your Exchange Admin Center at
Go to Settings>Mail flow>Mail flow settings and uncheck "Turn off SMTP AUTH protocol for your organization.
Leave all other settings as is.
Save your changes.
#### Configure Salesorder Mail Account(s)
Go to Setup>Configuration>Mail Accounts>Actions>New Microsoft 365 Account (Corporate)
Enter these details
| Field | |
| ------------ | --------------------------------------------------------------- |
| Account name | A memorable name |
| Sender name | Person sending (Worker) |
| Sender email | Person's email address |
| Use OAuth | Check this box |
| Username | Username for logging into Exchange. Probably the email address. |
Save your changes.
### Accept Permissions Settings for Salesorder to access user Email.
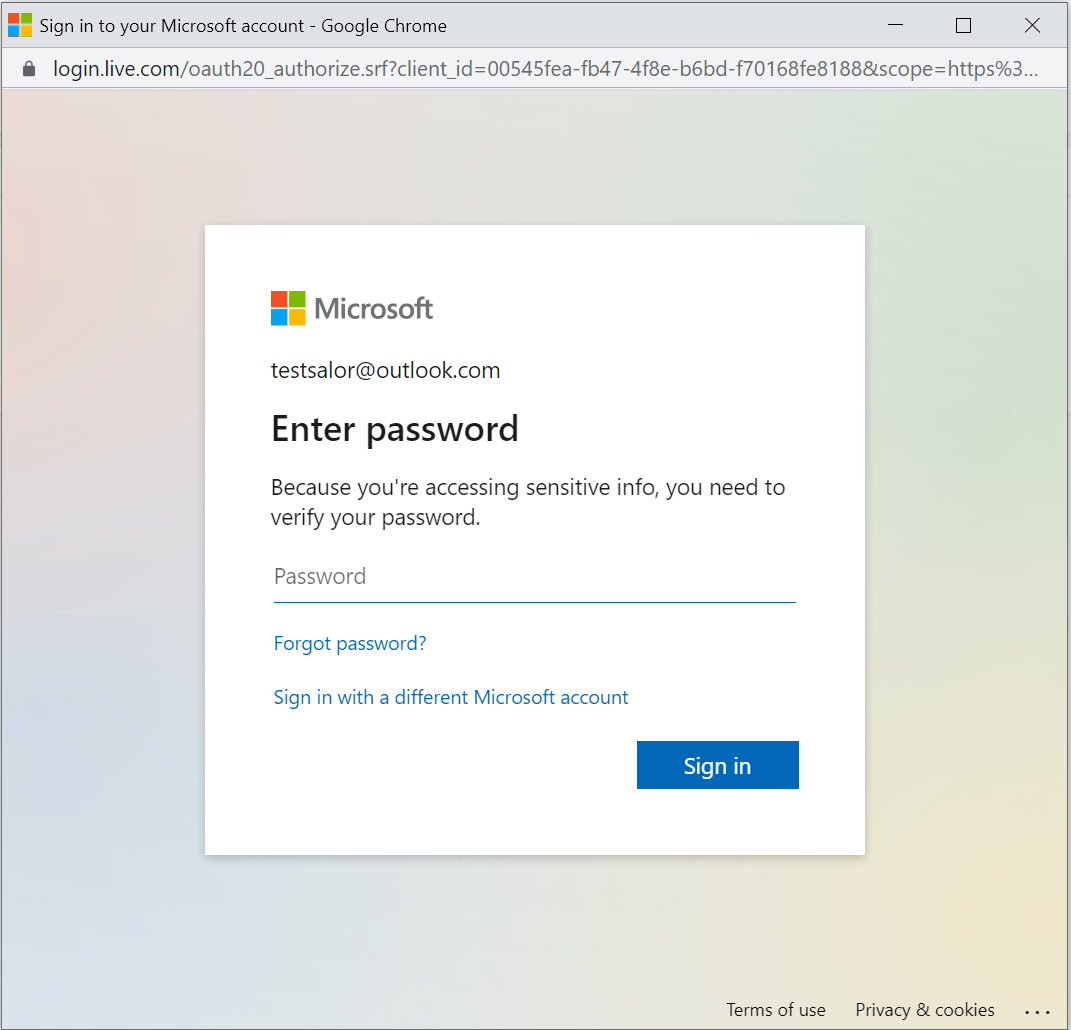
Click the blue Login button. You'll see this screen.
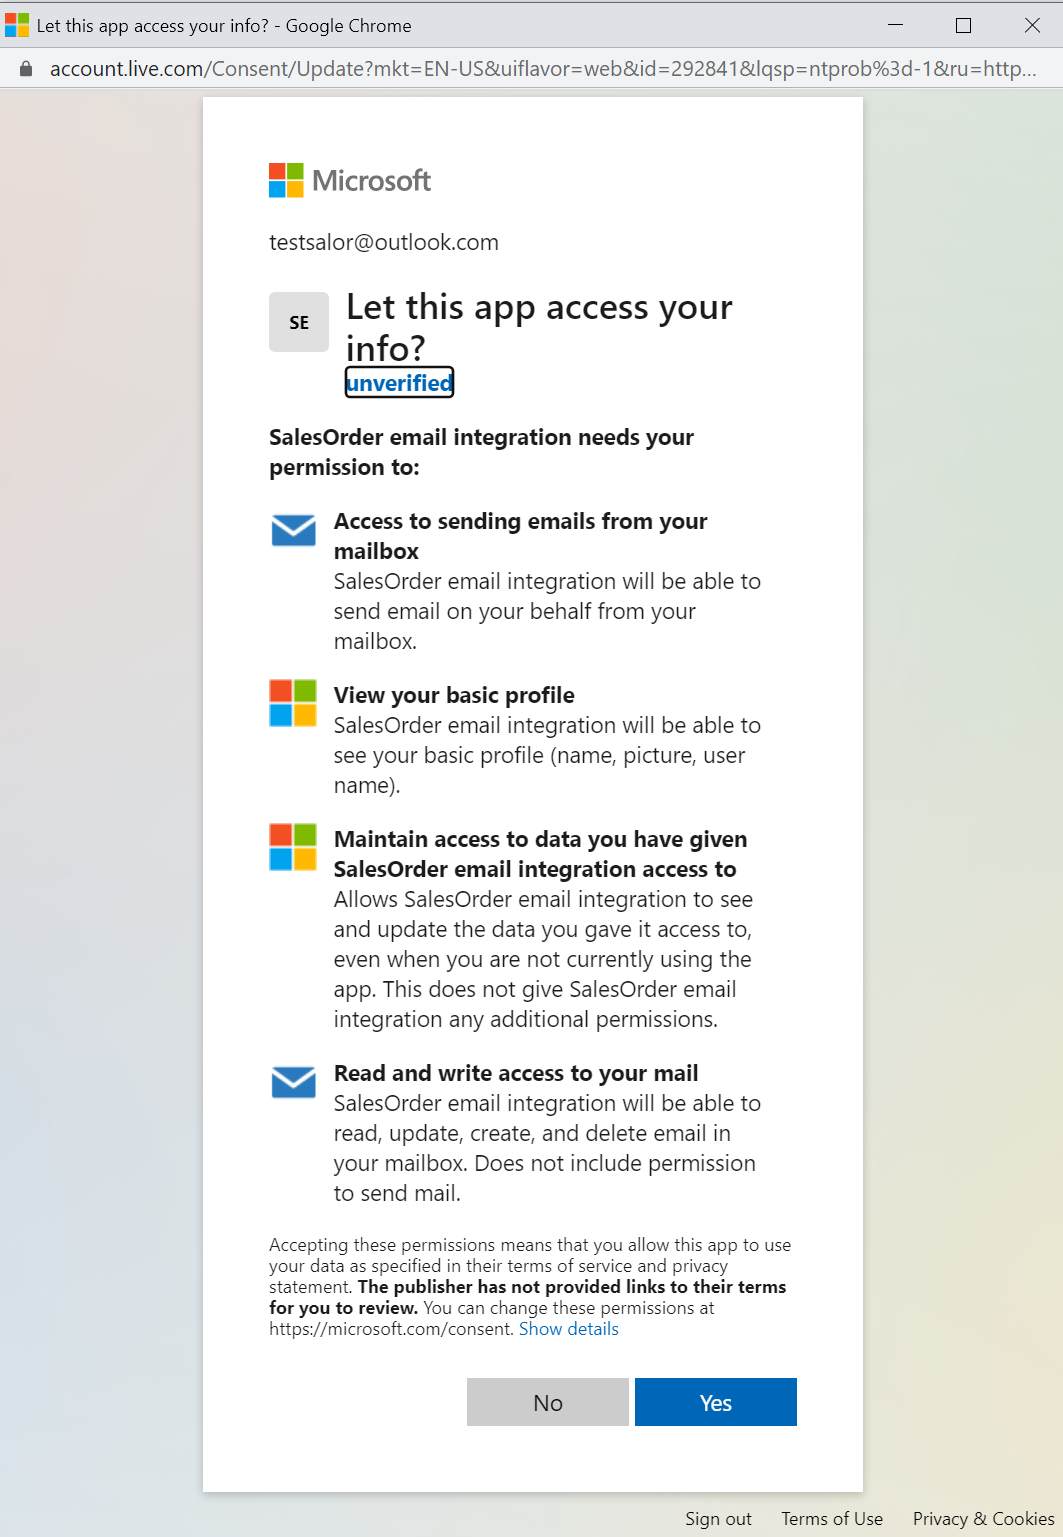
Enter your password and Sign in. You'll see this screen.
Click Yes to accept these terms.
Now click 'Test Connection'.
{% hint style="warning" %}
**If you encounter an issue**
Your 365 system administrator may need to intervene to accept the permissions request or enable 365 to allow the completion of this action by default.
When the issue is resolved go back to the beginning of this process.
If you are still having problems, email and include the error message, i.e. Your error ID: , Subj: Outlook Setup.
{% endhint %}
### Map the email folders
Edit the Microsoft 365 Account (Corporate) settings page.
Default Folder Mappings using the dropdowns select the folders you want to map.
Save your changes.